nordipoint Laminate Flooring Guide Nordipoint Contact Us
Contact Us

Laminate Flooring Installation Guide

Complete DIY guides for click lock floors and underlay selection in Hradec Králové

July 2026 — 4 Essential Guides

Whether you're tackling your first floor or replacing an existing one, these guides walk you through every step. From choosing the right underlay to mastering click lock installation techniques, we've got the details that actually matter.

Installation Guides

Step-by-step instructions and practical tips for successful laminate floor installation

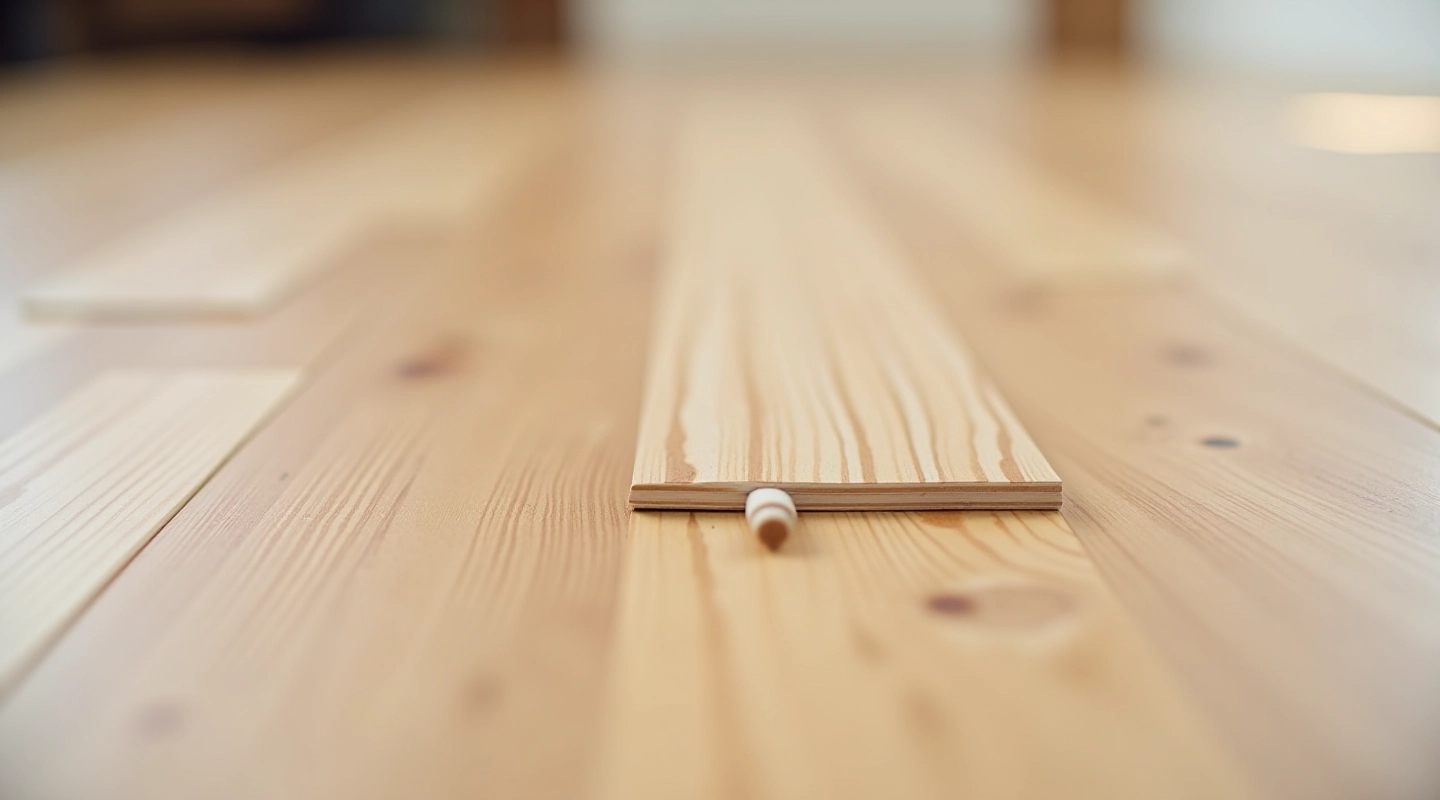
Laminate flooring planks arranged showing click lock system and wood grain detail

Understanding Click Lock Systems

How the locking mechanism works, what to look for when buying, and why it matters for installation success.

7 min Beginner July 2026
Read More
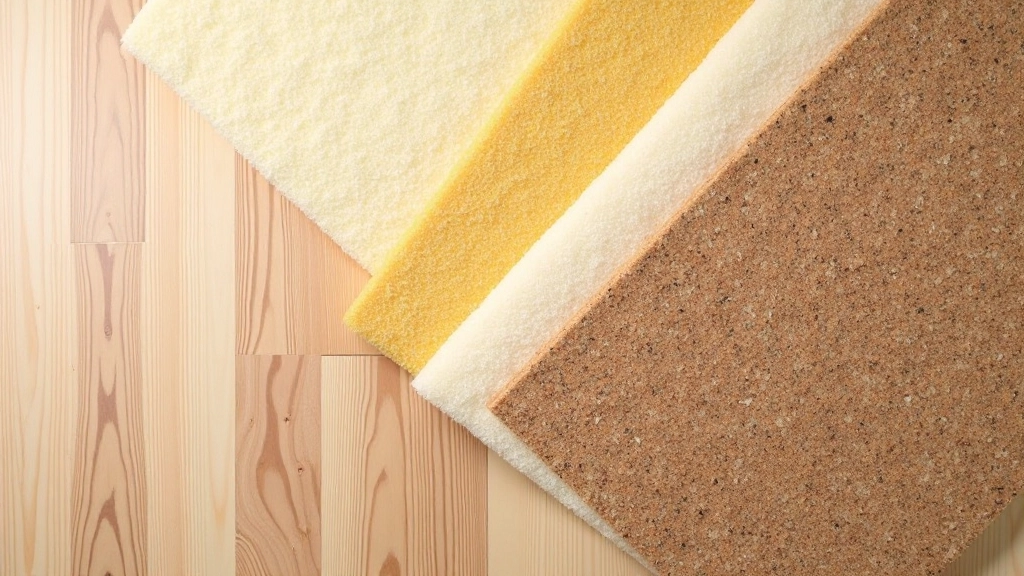
Different types of underlay materials laid out side by side for comparison and selection

Choosing the Right Underlay

Foam vs. cork vs. felt — what each does, moisture protection requirements, and matching underlay to your floor type.

9 min Beginner July 2026
Read More
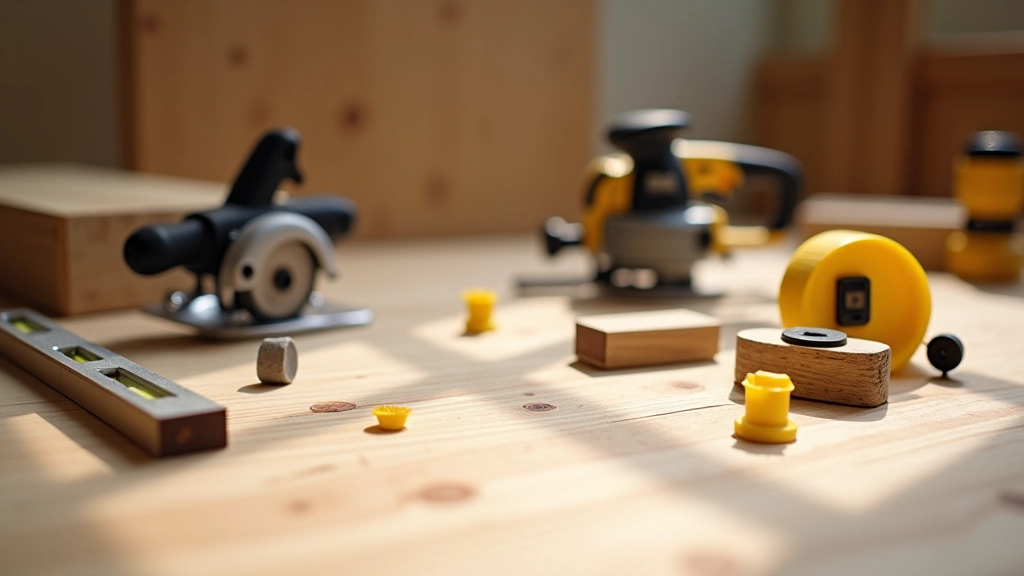
Tools and equipment laid out for laminate flooring installation including saw, spacers, and measurement tools

Tools and Preparation Checklist

Essential tools you'll need, how to prepare your subfloor, and common mistakes people make before they even start laying planks.

8 min Beginner July 2026
Read More
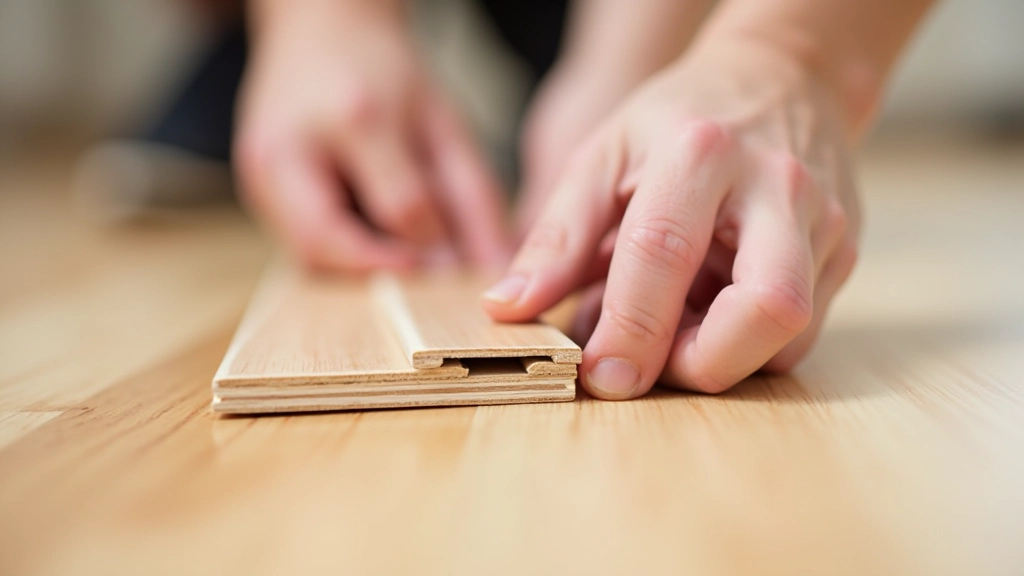
Hands demonstrating click lock plank connection technique during flooring installation

Step-by-Step Installation Process

Row by row breakdown from your first plank to finishing touches. Includes spacing, cutting planks, and fixing common installation problems.

12 min Intermediate July 2026
Read More

Installation Success Checklist

Quick reference tips to keep you on track during installation

Acclimate Your Planks

Let laminate sit in the room for 48 hours before installation. This helps it adjust to the room's temperature and humidity.

Use Spacers Consistently

Maintain 8-12mm expansion gaps at walls and around doorways. Don't skip this step — it prevents buckling later.

Stagger Your Joints

Offset each row so joints don't line up. This creates a stronger, more stable floor and looks more professional.

Measure Twice, Cut Once

Always double-check measurements before cutting planks. A circular saw with a fine-tooth blade gives the cleanest cuts.

Check Level as You Go

Use a level every few rows to catch dips or high spots early. It's easier to fix problems now than after the floor's complete.

Install Trim and Transitions

Baseboards and threshold transitions go on last. They cover expansion gaps and create a finished, professional appearance.