
Tools and Preparation Checklist
Essential tools you'll need, how to prepare your subfloor, and common mistakes people make before they even start laying planks.

Before you buy your first plank, you need to know what you're actually working with. The right tools make this job way easier — not because they're fancy, but because they do specific things that your regular toolbox can't handle. And honestly? Half the battle is preparing the room correctly. We've seen plenty of projects fail not because the flooring was bad, but because the subfloor wasn't ready.
Essential Tools You'll Actually Need
Don't buy everything at once — start with these core items
You don't need a workshop full of equipment. Most people get by with maybe 8-10 specific tools. A circular saw or miter saw is essential — you're going to be cutting planks constantly, and trying to do it with a hand saw will drain your patience in about 30 minutes. Get one or borrow from a friend. A chop saw is better if you're cutting a lot of cross-cuts, but a circular saw does both lengthwise and cross cuts fine.
Saw (circular or miter)
For lengthwise and crosswise cuts. Chop saw is smoother but circular saw is versatile.
Spacers (3-5mm)
Plastic wedges that keep uniform gaps between planks and walls. Critical for expansion room.
Tapping block
Protects plank edges when you're pushing rows together. A piece of scrap wood works if you don't have one.
Rubber mallet
Tap planks into place without cracking them. About 1.5-2 kg weight is perfect.
Measuring tape (5-8m)
You'll measure the room width constantly. Makes calculations faster and more accurate.
Pencil for marking
Mark cut lines clearly. Use a carpenter's pencil — it's thicker and shows better.

Subfloor Preparation — The Foundation Everything Depends On
This is where most people cut corners, and it shows

The subfloor has to be flat, clean, and dry. If it's not, your planks will rock and click. Moisture is the biggest enemy — it causes swelling and warping. You're looking for subfloor moisture below 12%. If you've got a concrete floor, you'll want to check with a moisture meter. Wood subfloors need to be checked too. Any water damage, stains, or soft spots mean you've got a leak that needs fixing first.
Flatness check
Use a 2m straightedge. Gaps larger than 3mm over 2 meters need leveling compound or grinding.
Moisture test
Get a moisture meter (€30-50). Concrete should be below 12% moisture. Don't skip this — wet subfloors ruin projects.
Cleanliness
Vacuum thoroughly. Dust and debris under planks create gaps. A damp cloth helps capture fine dust.
Remove old flooring
Laminate doesn't work well over old carpet or tile. You need a solid, clean base.
Room Conditions and Climate Control
Temperature and humidity matter more than you'd think
Laminate expands and contracts with temperature and humidity changes. That's why you need to acclimate the planks to your room before installation. You're not just storing them — you're letting them reach the same moisture content as your room's air. This usually takes 48 hours minimum, sometimes up to a week in very dry climates.
The room itself should be between 16-27°C with humidity between 40-60%. These aren't arbitrary numbers. Below 40% humidity, planks shrink and create gaps between them. Above 60%, they swell. Dry winters in heated homes are actually a bigger problem than you'd think. If your room is drier than 40%, you might need a humidifier running for a few days before and during installation.
Ideal room temperature
Humidity range
Acclimation time minimum

Common Mistakes That Ruin Everything
Learn from others' problems before they become yours
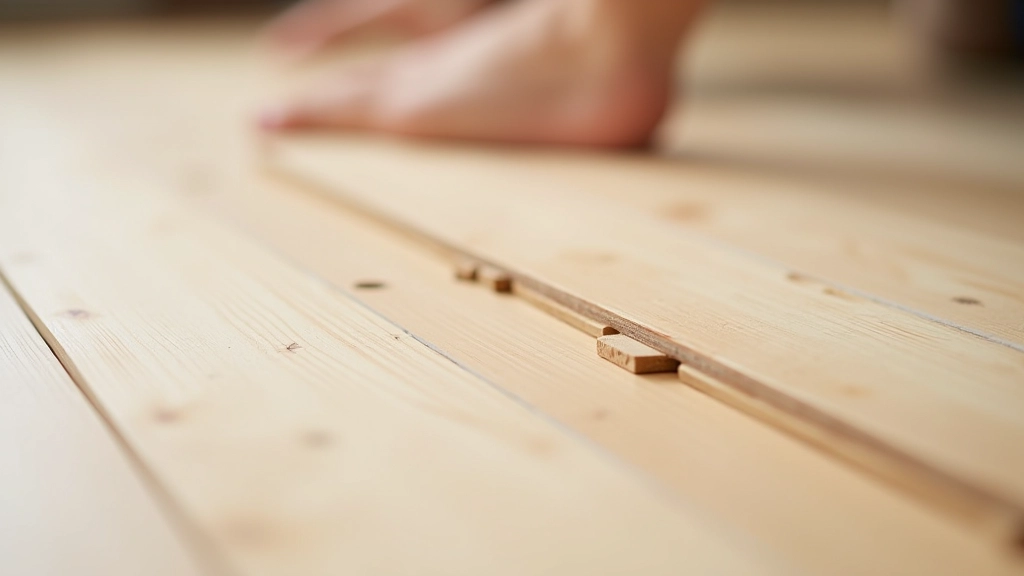
We've talked to installers and homeowners who've had to rip up floors after a month because something wasn't right from the start. Most of these problems come down to rushing the prep work.
Installing on uneven subfloors
This is the #1 cause of clicking and movement. A 5mm gap under a plank means it'll rock and create noise every time someone steps on it. Use a straightedge and check systematically across the entire room, not just spots.
Skipping acclimation time
We get it — you want to install today. But planks brought straight from a warehouse into a dry room will shrink within weeks. Gaps appear. It looks bad and you can't fix it without pulling everything up.
Not checking moisture
If your concrete has been wet, it'll dry on the surface but stay wet underneath. Moisture rises through the plank, causes swelling and buckling. A meter costs less than €50 and saves you thousands in replacement costs.
Wrong underlay or no underlay
Cheap underlay compresses unevenly, especially in high-traffic areas. Your floor feels soft in some spots. Upgrade to a better quality foam or cork underlay — it's worth it.
Important Information
This guide is intended for educational purposes to help you understand the preparation process for laminate flooring installation. Every room's conditions are different — humidity levels, temperature, and existing subfloor conditions vary. Always test your specific subfloor with appropriate moisture meters before proceeding. If you're unsure about any aspect of your room's suitability for laminate flooring, consult with a professional installer. Local building codes and specific environmental factors may affect your installation approach.
Ready to Get Started?
Proper preparation isn't glamorous, but it's the difference between a floor that lasts 20 years and one that's problematic within 2. Spend the time now checking your subfloor, getting your tools together, and letting those planks acclimate. You'll appreciate it when you're laying the first row and everything is straight, flat, and ready to go.
Once your room is prepped, you'll be ready for the actual installation. Check out our step-by-step installation guide to see what comes next.
Read Step-by-Step Installation Process
Nordipoint Editorial Team
Editorial Team
Written by the nordipoint editorial team, focused on practical, honest guidance for laminate flooring installation and material selection.
Related Articles
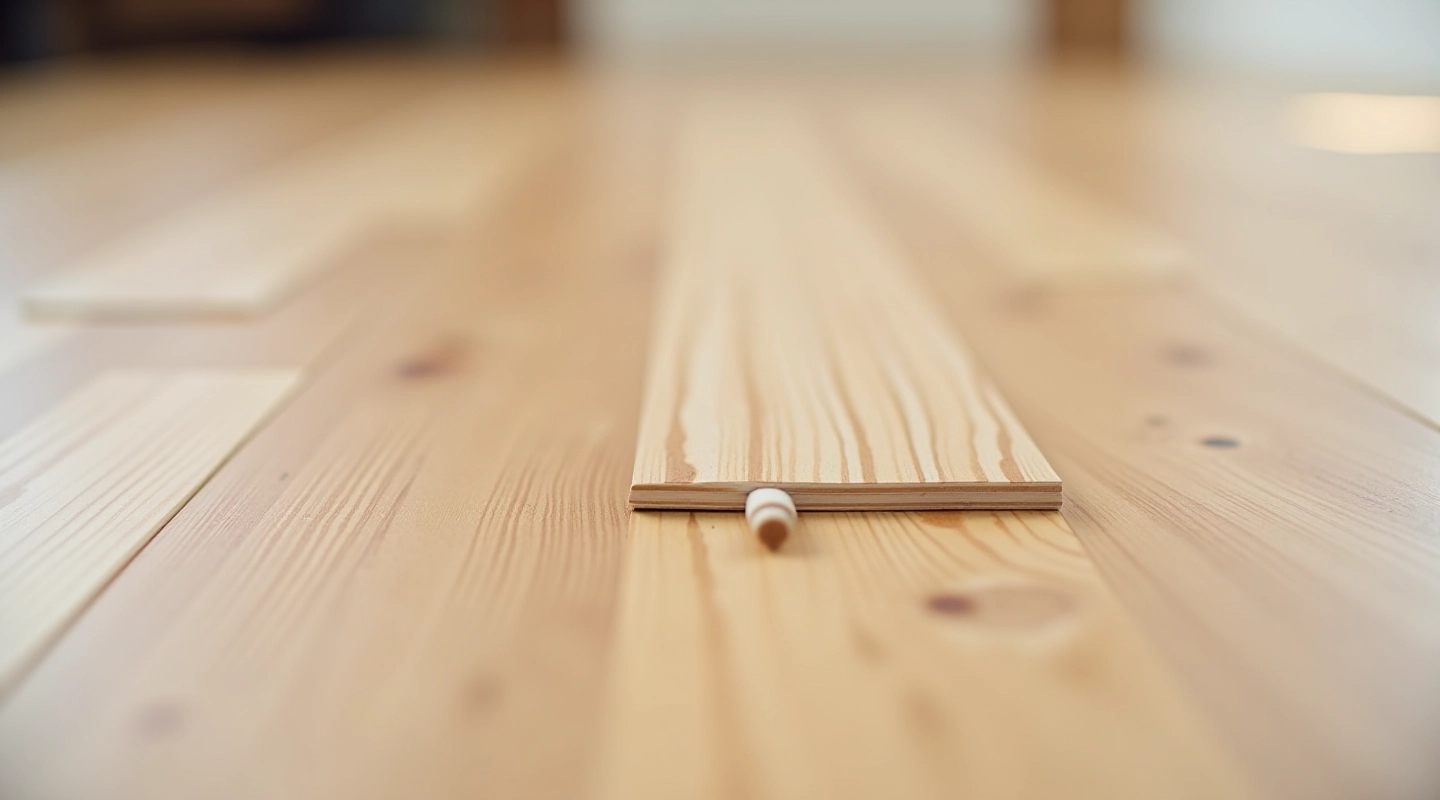
Understanding Click Lock Systems
How the locking mechanism works, what to look for when buying, and why it matters...
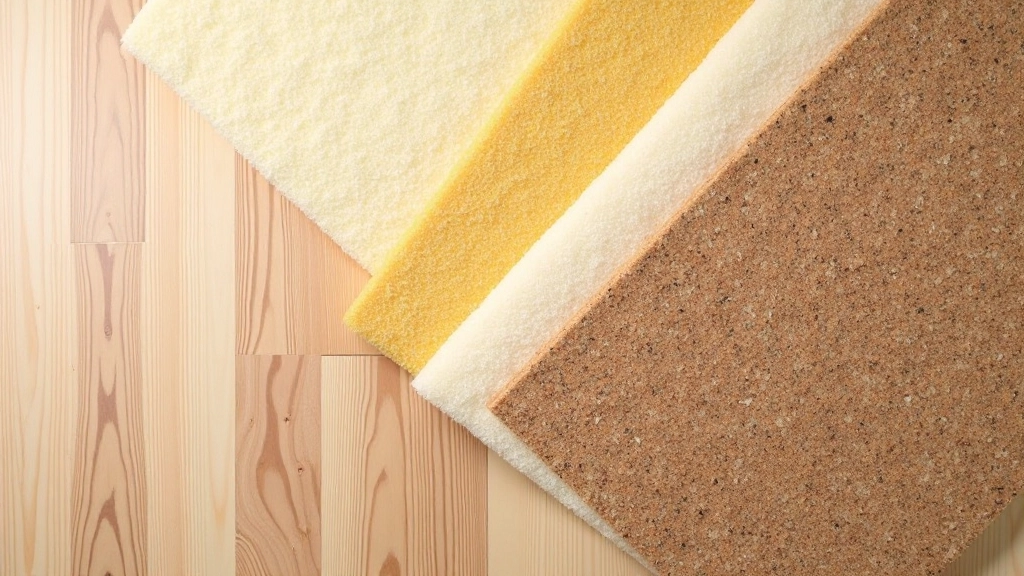
Choosing the Right Underlay
Foam vs. cork vs. felt — what each does, moisture protection requirements, and more...
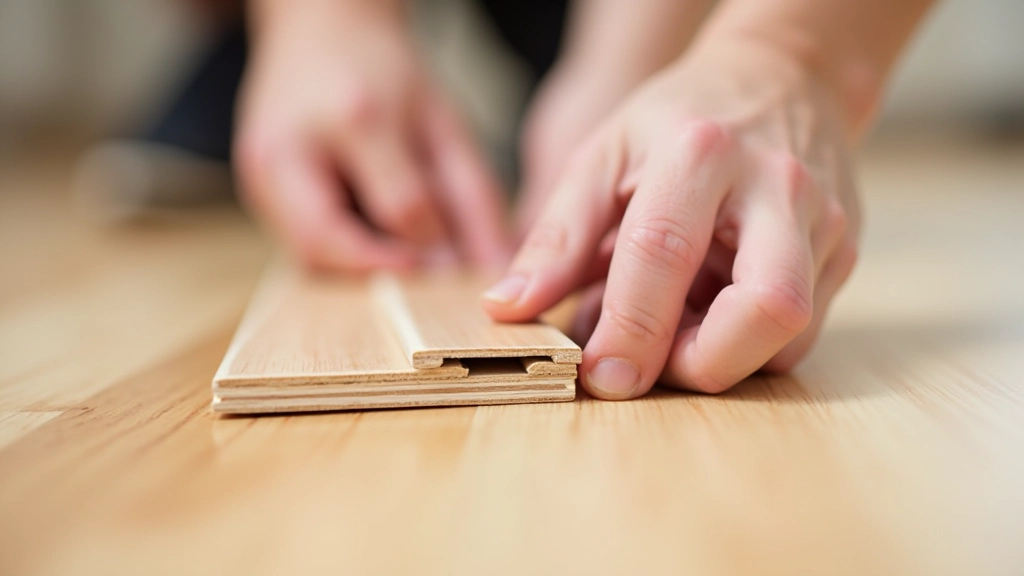
Step-by-Step Installation Process
Row by row breakdown from your first plank to finishing touches. Includes spacing...