

Understanding Click Lock Systems
How the locking mechanism works, what to look for when buying, and why it matters for your installation.
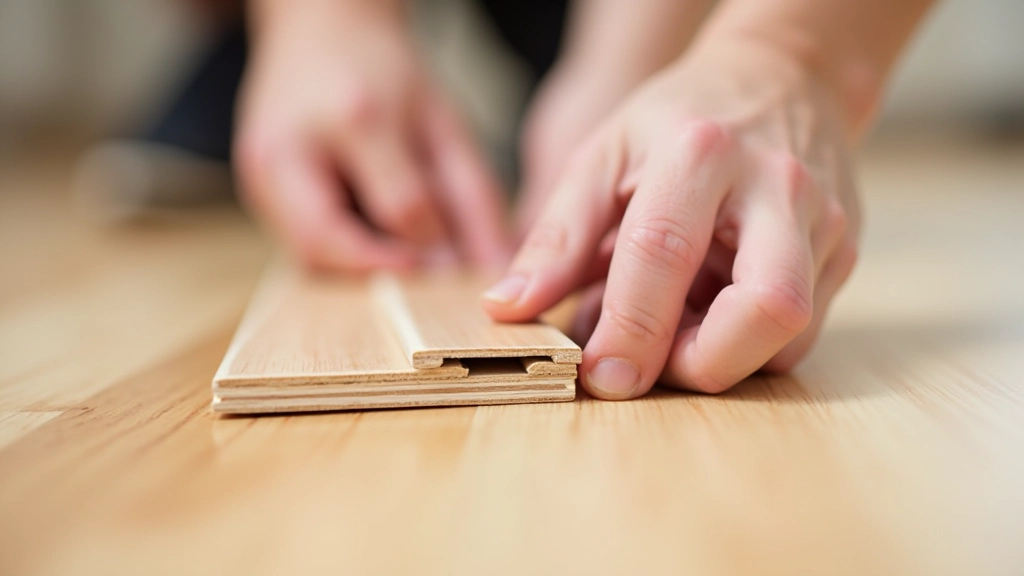
Row by row breakdown from your first plank to finishing touches. Includes spacing, cutting planks, and fixing common installation problems.
Installing laminate flooring isn't as complicated as it might seem. We're going to walk you through each stage, from laying that first row to putting down the trim. The key is taking your time and following the process carefully. Most installations go smoothly when you understand what you're doing.
The technique we'll cover works for click lock systems, which are the most common type you'll encounter. You'll need to plan your layout, maintain proper spacing, and make strategic cuts. Don't worry — we'll show you exactly how to handle each part.
Before you place a single plank, the subfloor needs attention. It's got to be clean, level, and dry. Sweep thoroughly to remove dust and debris — even small particles can cause issues later. If there are high spots, sand them down. Low spots might need leveling compound.
Check your moisture levels with a moisture meter. Laminate flooring and moisture don't mix well. Your subfloor should measure between 12% and 14% moisture content. If it's higher, you've got a problem that needs fixing before you start. Let the room acclimate — your planks should sit in the installation space for 24 to 48 hours before you lay them. This helps them adjust to the room's temperature and humidity.
The underlay goes down next. It creates a moisture barrier, adds comfort underfoot, and reduces sound. Roll it out perpendicular to the direction you'll be laying your planks. Overlap the seams by about 4 inches and tape them down. You want it smooth and tight — no lumps or gaps.

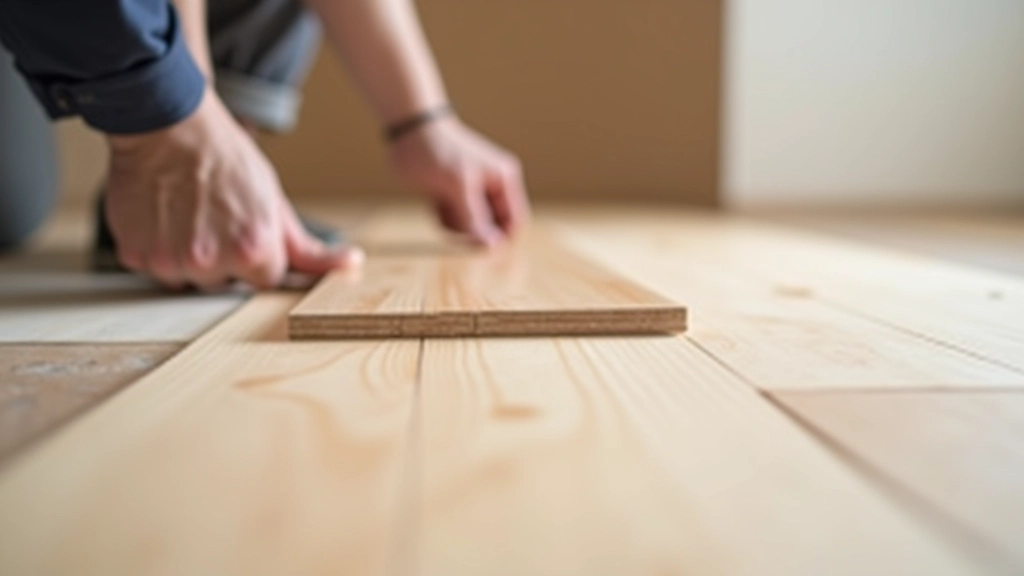
This is where it all starts. You'll want to begin along the longest, straightest wall in your room. Place spacers — small plastic wedges — against the wall. These keep your flooring about a quarter-inch away from the walls, allowing for natural expansion and contraction. Without this gap, your floor can buckle.
Your first plank needs to be cut. Measure from the corner, and if your wall is exactly 12 feet wide and your planks are 4.5 inches, you might need to cut that first plank to avoid ending with a tiny sliver. A good rule: avoid ending with anything less than 8 inches. If your math works out that way, cut the first plank shorter so the last plank is wider.
Position the first plank with its groove facing the wall, tongue facing out toward the room. Use a tapping block — never strike the plank directly with a hammer. Tap gently to seat it firmly. Continue across the row, clicking each plank into the previous one. Check alignment frequently. You're looking for a straight, tight row with no gaps.
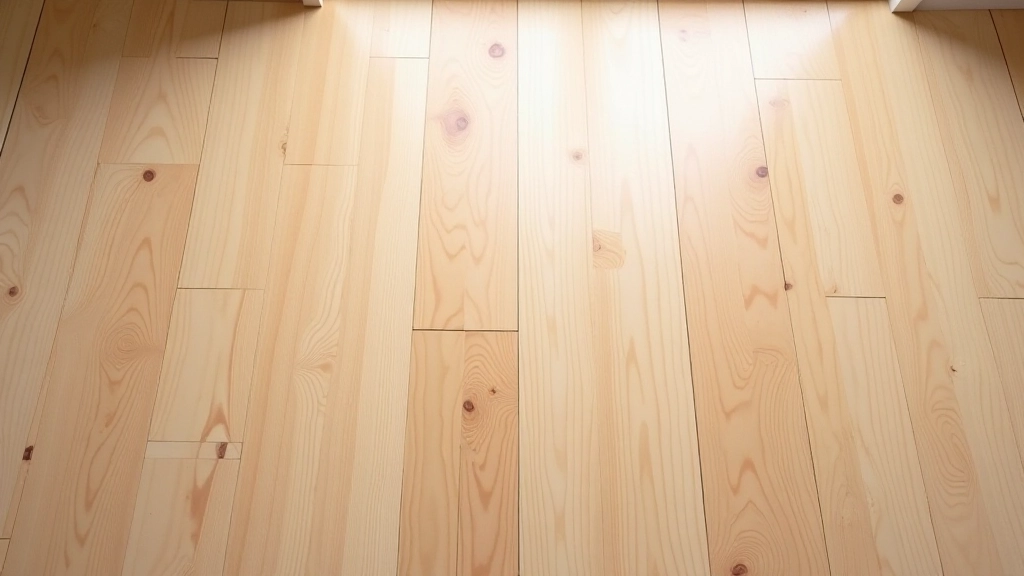
Here's something that separates a good installation from a sloppy one: staggering. You don't want your seams to line up vertically between rows. It weakens the floor and looks amateurish. A good pattern is to offset each row by at least 8 inches from the row below it. Many professionals use a 16-inch offset — that means if row one starts with a full plank, row two starts with a half-plank or roughly half.
Your second row begins by clicking into the first row along the length. Angle the plank at about 45 degrees and slide the tongue into the groove of the plank below. Then lower the plank and press down. You should hear and feel a click when it seats properly. If it doesn't click, don't force it. Lift, check alignment, and try again.
As you build subsequent rows, maintain that quarter-inch spacing from walls. At the far end of the room, your last plank might need cutting. Measure from the wall to the tongue of the second-to-last plank, add your quarter-inch gap, and cut accordingly. A table saw or circular saw with a fine-tooth blade works best. Always wear eye protection when cutting.

You're going to need to cut planks. Around doorways, along walls, and at the end of rows. A few techniques make this easier. For straight crosscuts, a circular saw with the blade set to cut from the face of the plank works great. For lengthwise cuts along the tongue and groove, a table saw gives you the cleanest edge. Always measure twice and cut once.
For notches around door frames, measure carefully and use a jigsaw. Test fit before you lock it in. Laminate doesn't like being re-cut in the same spot, so precision matters. If you mess up, you've got one more shot at that plank — cut off a bit and try again. After that, you're buying a new one.
Sometimes planks won't click together smoothly. Don't panic. Check alignment. Make sure the groove is clean and the tongue isn't bent. If the plank is bowed, gentle pressure from below while clicking usually fixes it. If you've got a gap after clicking, you might have debris. Lift, check, and try again. Patience beats force every time.
Once your flooring is laid, you're nearly done. Remove those spacers from around the walls. Now comes the trim — baseboards, threshold strips, and quarter-round molding. These cover the expansion gap and look professional. Baseboard trim hides the gap while protecting the wall. Threshold strips go at doorways and transitions between rooms. Quarter-round, as the name suggests, is a curved trim that goes at the base of the wall.
Install baseboards after your flooring settles for a few days. This lets the floor expand fully, so your trim won't be pushed out by pressure from below. Use finish nails, not screws. Pre-drill holes to prevent splitting. At inside corners, miter your cuts for a clean look. Outside corners, you can use a corner block for a simpler approach.
Let your floor settle for 24 to 48 hours before moving furniture back in. You've done the hard work. Now you get to enjoy the result. A properly installed laminate floor can last 20 years or more with basic care — just regular sweeping and the occasional damp mop.
This guide provides educational information about laminate flooring installation. While we've aimed for accuracy, installation techniques can vary based on your specific product, subfloor conditions, and local building codes. Always consult the manufacturer's installation instructions for your particular flooring. If you're uncertain about any step, especially regarding subfloor preparation or moisture management, consider consulting a professional installer. Improper installation can affect warranty coverage and long-term floor performance.

Editorial Team
Written by the nordipoint editorial team, focused on practical, honest guidance for laminate flooring installation and material selection.
How the locking mechanism works, what to look for when buying, and why it matters for your installation.
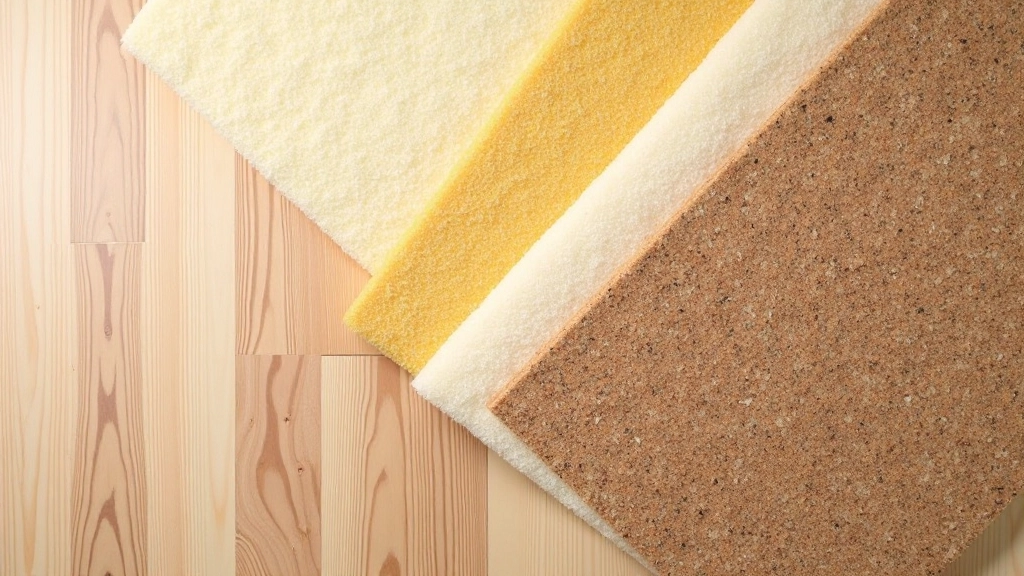
Foam vs. cork vs. felt — what each does, moisture protection requirements, and more.

Essential tools you'll need, how to prepare your subfloor, and common mistakes to prevent.