
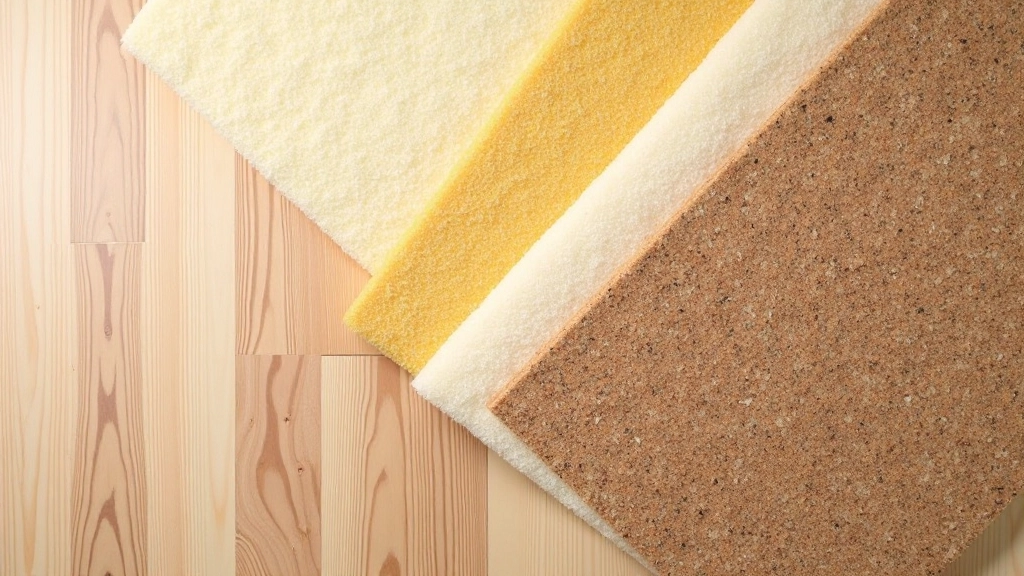
Choosing the Right Underlay
Foam vs. cork vs. felt — what each does, moisture protection requirements, and making the best choice for your space.
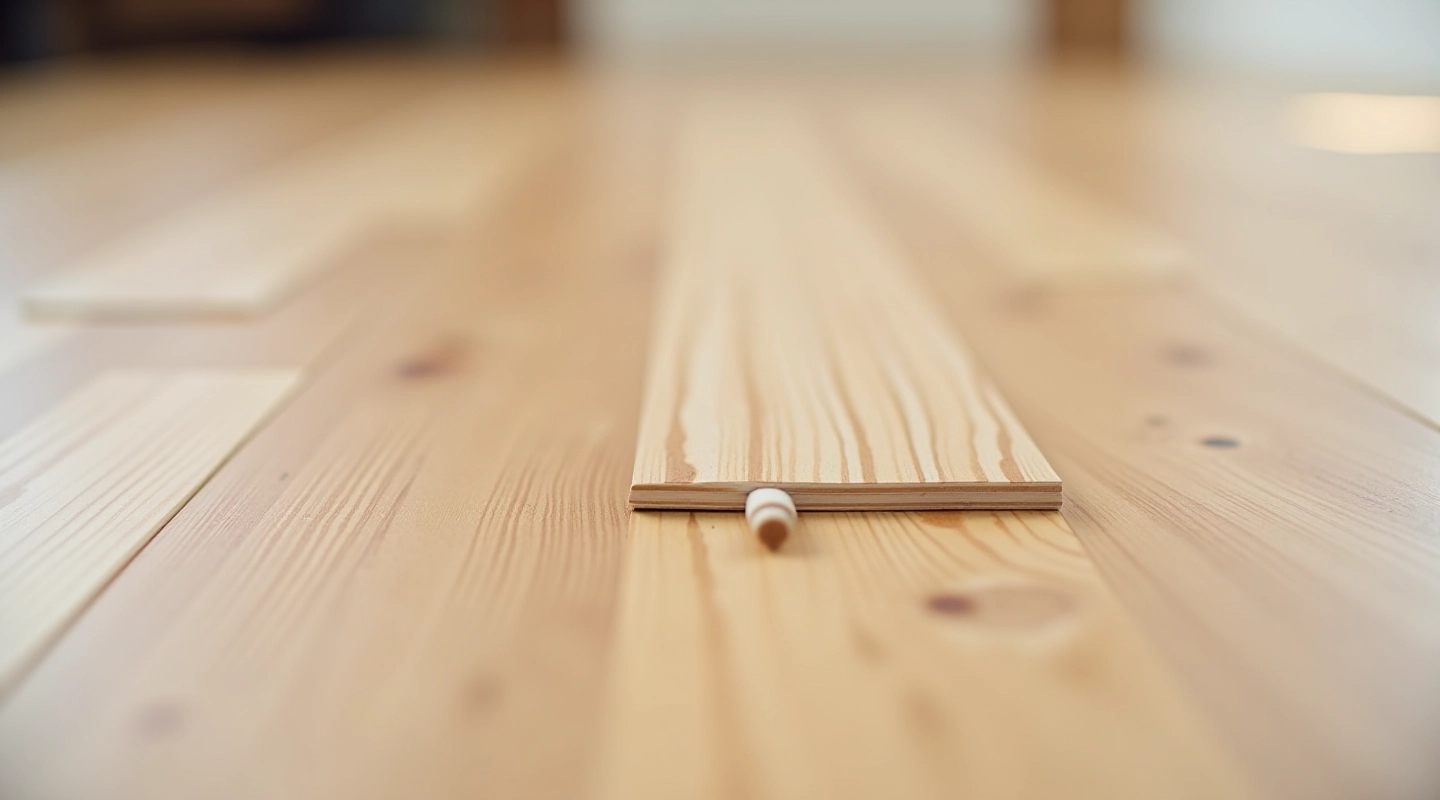
How the locking mechanism works, what to look for when buying, and why it matters for installation success.
Click lock laminate flooring has revolutionized DIY installation. Instead of gluing planks together, you simply click them into place. It's faster, cleaner, and honestly more forgiving for beginners. But not all click systems are created equal.
The difference between a solid, reliable click system and a cheap imitation can mean the difference between a floor that holds up for decades and one that starts separating after a year. We're going to walk you through how these systems actually work, what makes some better than others, and exactly what to check before you buy.
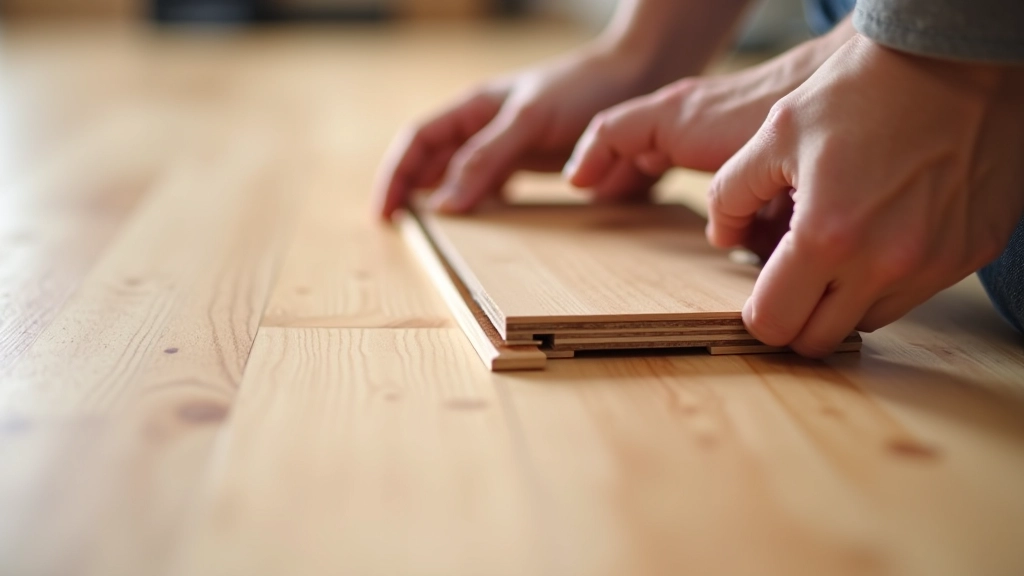
The click lock system is elegantly simple in theory. Each plank has a tongue on one side and a groove on the other. When you angle the new plank at about 45 degrees and press down, the tongue slides into the groove of the adjacent plank. Then you tap it level and the joint locks into place.
What makes this work is precision manufacturing. The tongue and groove have to fit together with specific tolerances. Too loose and you'll get movement and gaps. Too tight and you'll damage the planks trying to install them. Most manufacturers aim for a fit that's snug but not forced.
The best systems use a mechanical lock that holds the planks both horizontally and vertically. Cheaper versions sometimes only lock in one direction, which means movement over time.
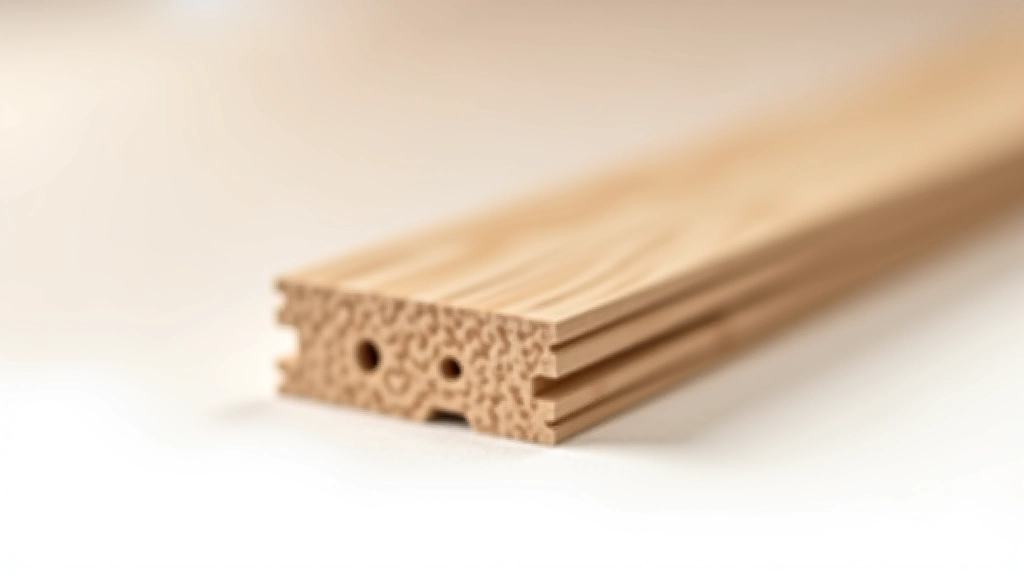
There are really two main approaches to click lock design, and they're fundamentally different in how they handle pressure.
Vertical systems use a locking mechanism that drops down from above. You angle the plank and click it into the previous plank. The lock engages vertically, pulling the new plank down and tight against the existing one. This is the more common system you'll find in modern laminate. It's generally reliable and forgiving during installation.
Horizontal systems work by pushing the plank sideways into the groove. You're sliding the tongue into the groove rather than dropping it in. These can be a bit trickier to install because you need consistent pressure along the entire length of the plank. Get sloppy and you'll have gaps.
Most manufacturers are moving toward vertical systems because they're more user-friendly. But you'll still find horizontal systems in some budget ranges. Neither is inherently bad — it's more about execution quality and your technique.
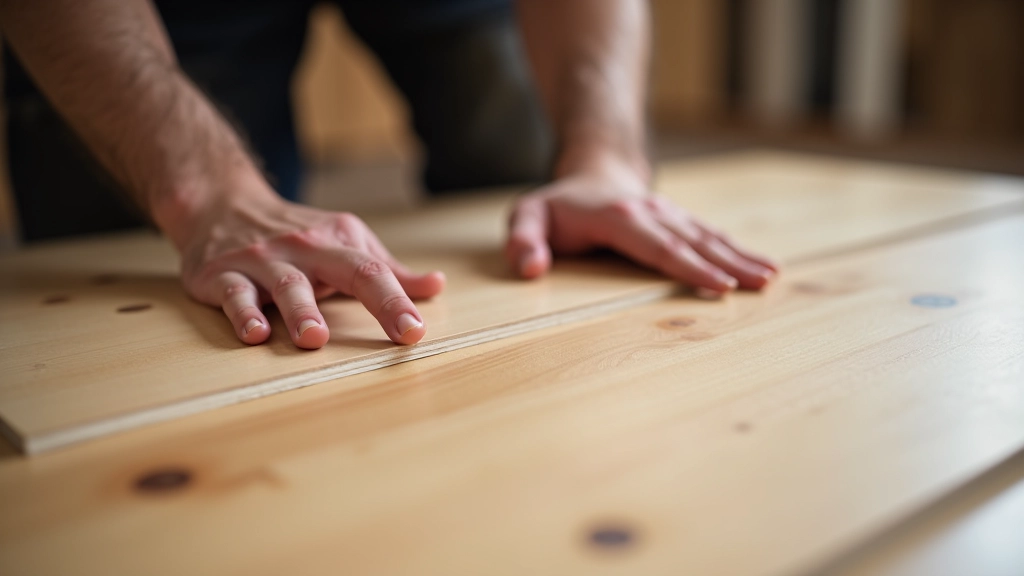
Price differences in laminate flooring are huge, and a lot of that comes down to click system quality. Here's what you're actually paying for when you go higher end:
Material composition. Premium planks use higher-quality HDF (high-density fiberboard) cores. The tongue and groove are carved from denser material that won't chip or break during installation. Budget laminate sometimes uses cheaper filler material that's more brittle.
Precision tolerances. Better manufacturers control their tolerances more tightly. This means your planks fit together consistently across the entire batch. You're not wrestling with some planks fitting perfectly while others are loose. It makes installation faster and the finished floor looks better.
Mechanical durability. The lock mechanism itself gets tested more rigorously in quality products. They're testing how many times the lock can be engaged and disengaged without wearing out or cracking. Budget systems sometimes fail after just a few clicks.
You don't necessarily need the most expensive option. But the absolute cheapest laminate usually shows its weaknesses during installation.
Ask the store if you can test the sample planks. Click a couple together. It shouldn't require extreme force, but there should be a solid, definitive click when it locks. If it's mushy or loose, that's a red flag. A good system feels satisfying — like two puzzle pieces fitting together properly.
Look closely at the tongue and groove on the sample. There shouldn't be any chips, cracks, or splintering. Run your finger along the joint line. It should be smooth and uniform. Variations in the groove depth or tongue thickness are signs of poor manufacturing consistency.
Quality manufacturers usually provide installation guides, videos, and sometimes even phone support. If the manufacturer isn't willing to invest in customer education, that tells you something about their confidence in the product. Budget brands often have minimal documentation.
Most click lock systems come with some kind of warranty. Better manufacturers back their products for 15-25 years. Budget options might only be 5 years or less. A longer warranty suggests the manufacturer believes in their click system's longevity.
Here's the thing about click lock systems: they're only as good as your technique during installation. A quality system can fail if you're not installing it correctly. And honestly, a decent system can work great if you know what you're doing.
The angle matters. For vertical systems, you're aiming for that 45-degree angle when you first engage the lock. Too shallow and the tongue won't catch properly. Too steep and you might force the joint before it's fully seated. It takes a feel that comes with experience, but after a few planks you'll get it.
Don't force it. This is critical. If a plank doesn't want to click, don't hammer it harder. Stop and check what's wrong. Maybe the subfloor has a high spot. Maybe the underlay shifted. Maybe the plank itself is warped. Forcing damaged planks into the system just creates weak joints that'll fail later.
Tap gently and consistently. Use a rubber mallet and tap along the edge of the plank as you're seating it. This distributes pressure evenly and prevents one corner from locking before the rest of the plank is ready. Patient, methodical work beats speed every time.

This is where opinions diverge. Some installers swear you should never glue a click lock floor. Others think you're crazy if you don't. The truth is somewhere in between.
Going without glue is definitely possible. Many click lock systems are designed to work without adhesive. The mechanical lock is strong enough to hold everything together if you've done the installation correctly. No glue means faster installation, easier removal if you ever need to replace planks, and no mess. The downside is that your floor relies entirely on the mechanical lock. If you're not perfect with your installation technique, you might develop movement or gaps over time.
Using click lock adhesive adds insurance. A thin bead of click lock glue (not regular wood glue) along the tongue creates a backup to the mechanical lock. It prevents the joint from ever separating. It also dampens noise — click lock floors without glue can be squeaky. The trade-off is that your floor becomes permanent. You can't easily replace individual planks.
For residential installations in normal conditions, most modern click lock systems work fine without glue if you're careful. For high-traffic areas, wet areas, or if you want absolute peace of mind, a bead of click lock adhesive is worth the extra 10 minutes of work per room.
This guide is intended for educational purposes and provides general information about click lock laminate systems. Installation results depend on many factors including subfloor condition, environmental humidity, and installation technique. Always follow the specific manufacturer's instructions for the laminate product you purchase. If you're unsure about any step, consult a professional installer or contact the manufacturer directly.
Click lock systems have made laminate flooring accessible to DIY installers. You don't need special tools or years of experience to get a professional result. But understanding how the system works and what separates quality from budget options puts you in a much stronger position to choose the right product for your project.
The best click lock system is the one that matches your skill level and your expectations. If you're a first-timer, spending a bit more on a quality system with forgiving tolerances is worth it. You'll have fewer headaches during installation and better results when you're done. If you're experienced and confident, you might be able to get away with a budget option. Just know what you're getting into.
Author
Editorial Team
Written by the nordipoint editorial team, focused on practical, honest guidance for laminate flooring installation and material selection.
Foam vs. cork vs. felt — what each does, moisture protection requirements, and making the best choice for your space.
Essential tools you'll need, how to prepare your subfloor, and common mistakes to prevent before you start.
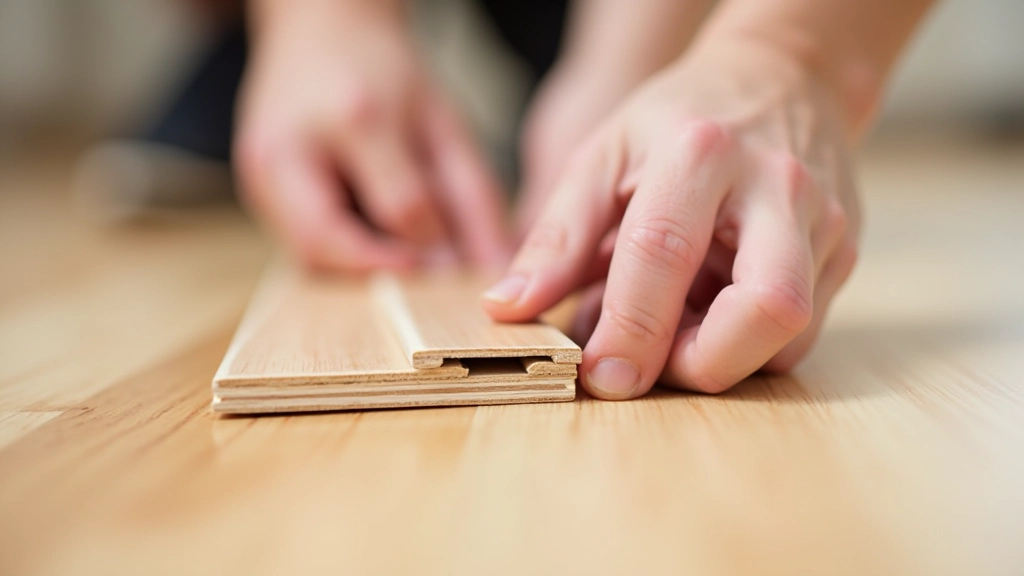
Row by row breakdown from your first plank to finishing touches. Includes spacing, transitions, and final details.